Step by step detail on the method I use for the repair of these, which requires quite delicate lathe work
Probably one of the most frequent faults particularly with hard rubber pen caps, of the early part of last century are cracked and chipped cap lips. Early ONOTO pens caps from early the last century are particularly susceptible to this defect. With these it’s not too much of a problem, as generally the caps are smooth, so manufacture of a new cap itself, does not prove too many problems.
Provided you have the correct material for the project. The black hard rubber I use is from a supplier in Japan, not all hard rubber materials are equal!
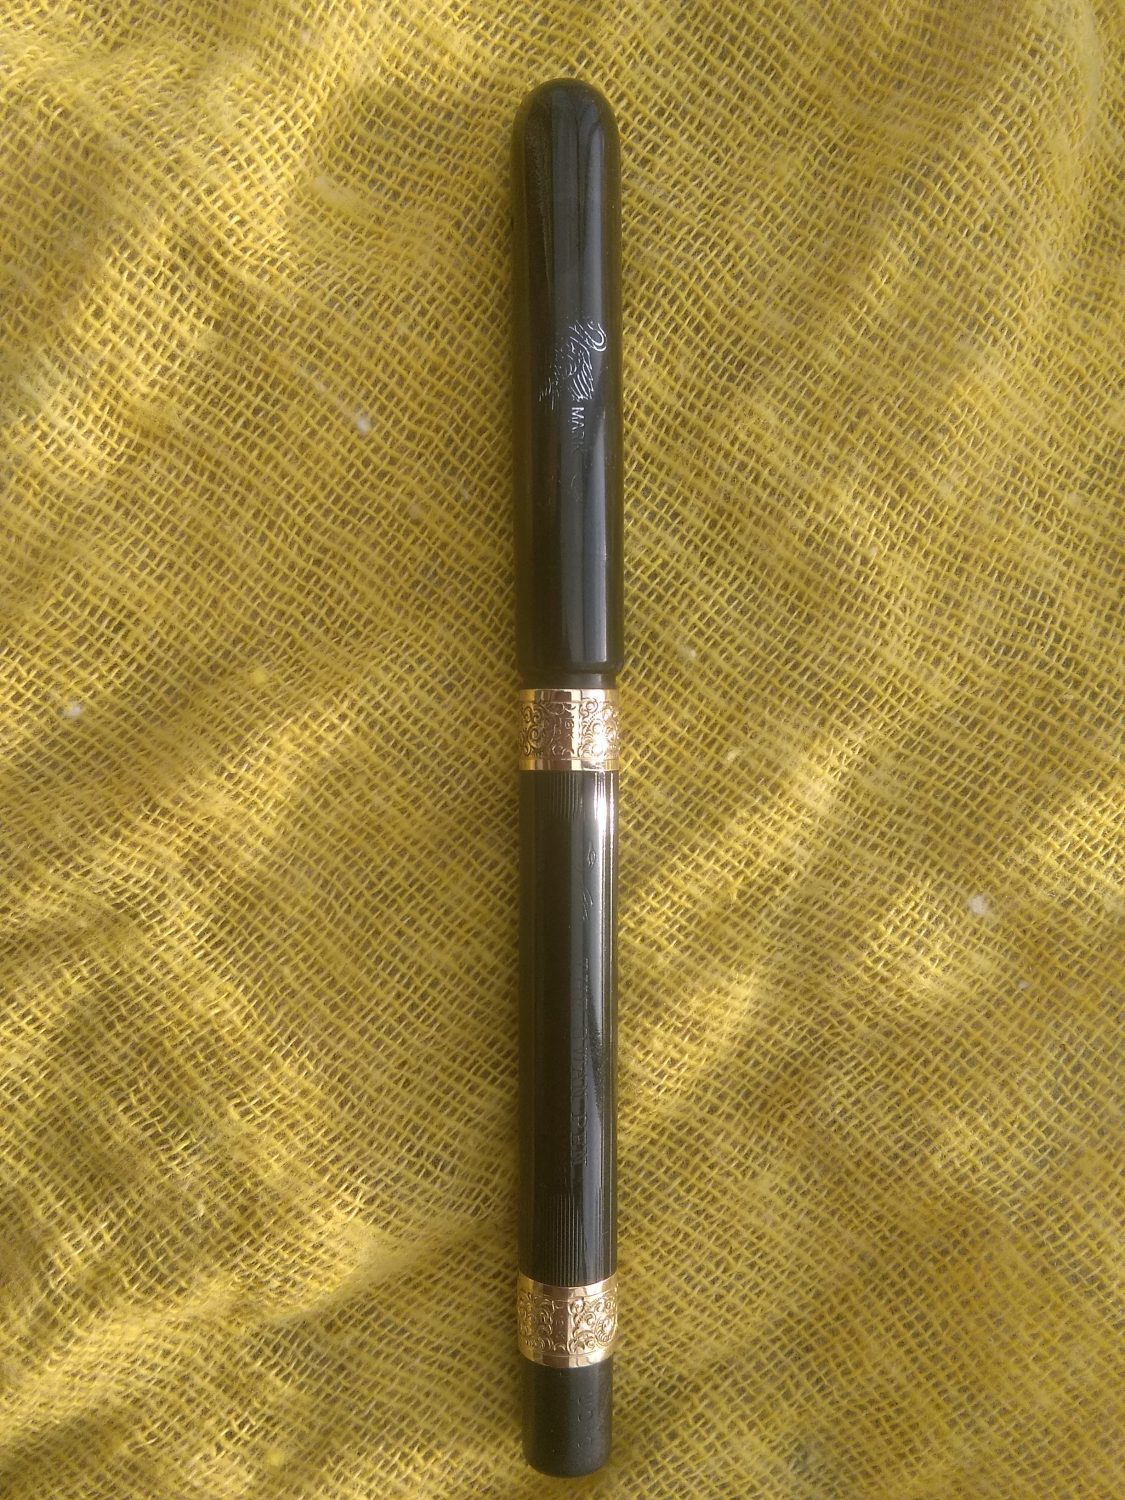
The following pen is a Swan Eyedropper with over/under feed and wire feed.
The reason for repairing the rather substantial cap lip chip to this cap instead of making a new cap was the significant Swan imprint on the cap.
The Step-by-step process is as follows, I should point out that many steps of this work the lathe was hand turned, for greater control, too many times in the past, under power, the cut has been extreme and it’s back to step one:-
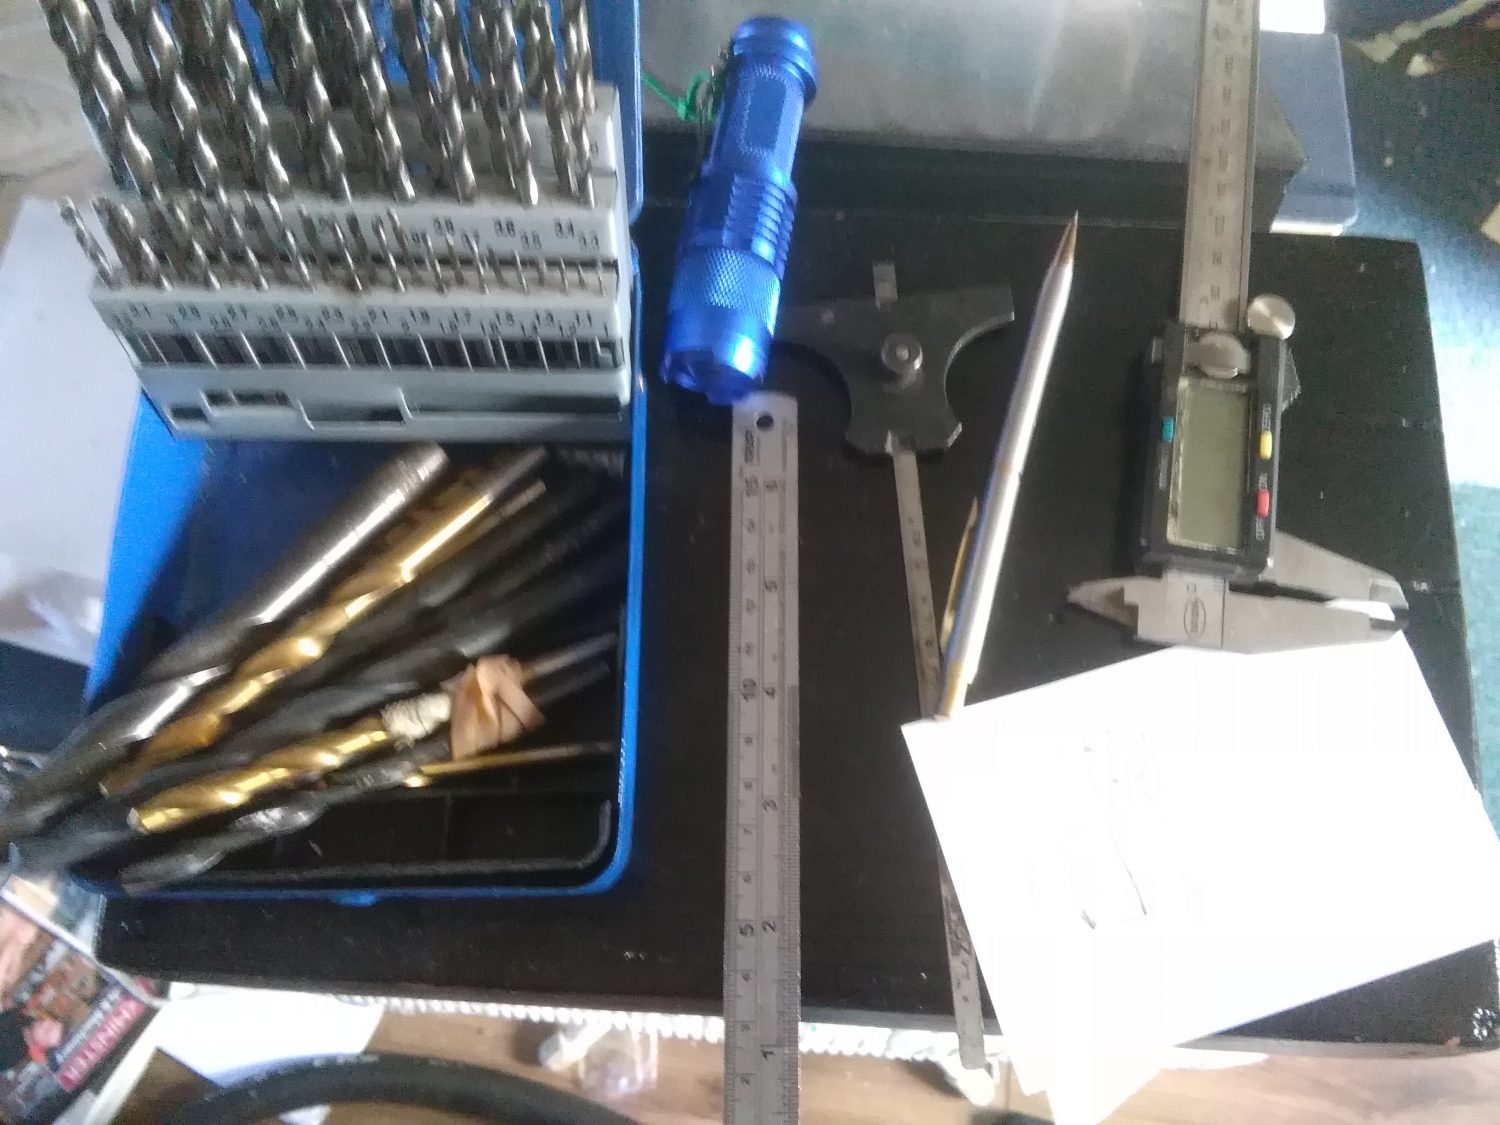
- Some of the measuring tools required for works, the set of drills are from 1mm to 6mm in increments of .1mm.
- Cutting off of the chipped cap lip part. Possibly the riskiest operation, in that the material is over 100 years old and extremely brittle and susceptible to further trauma, during works.
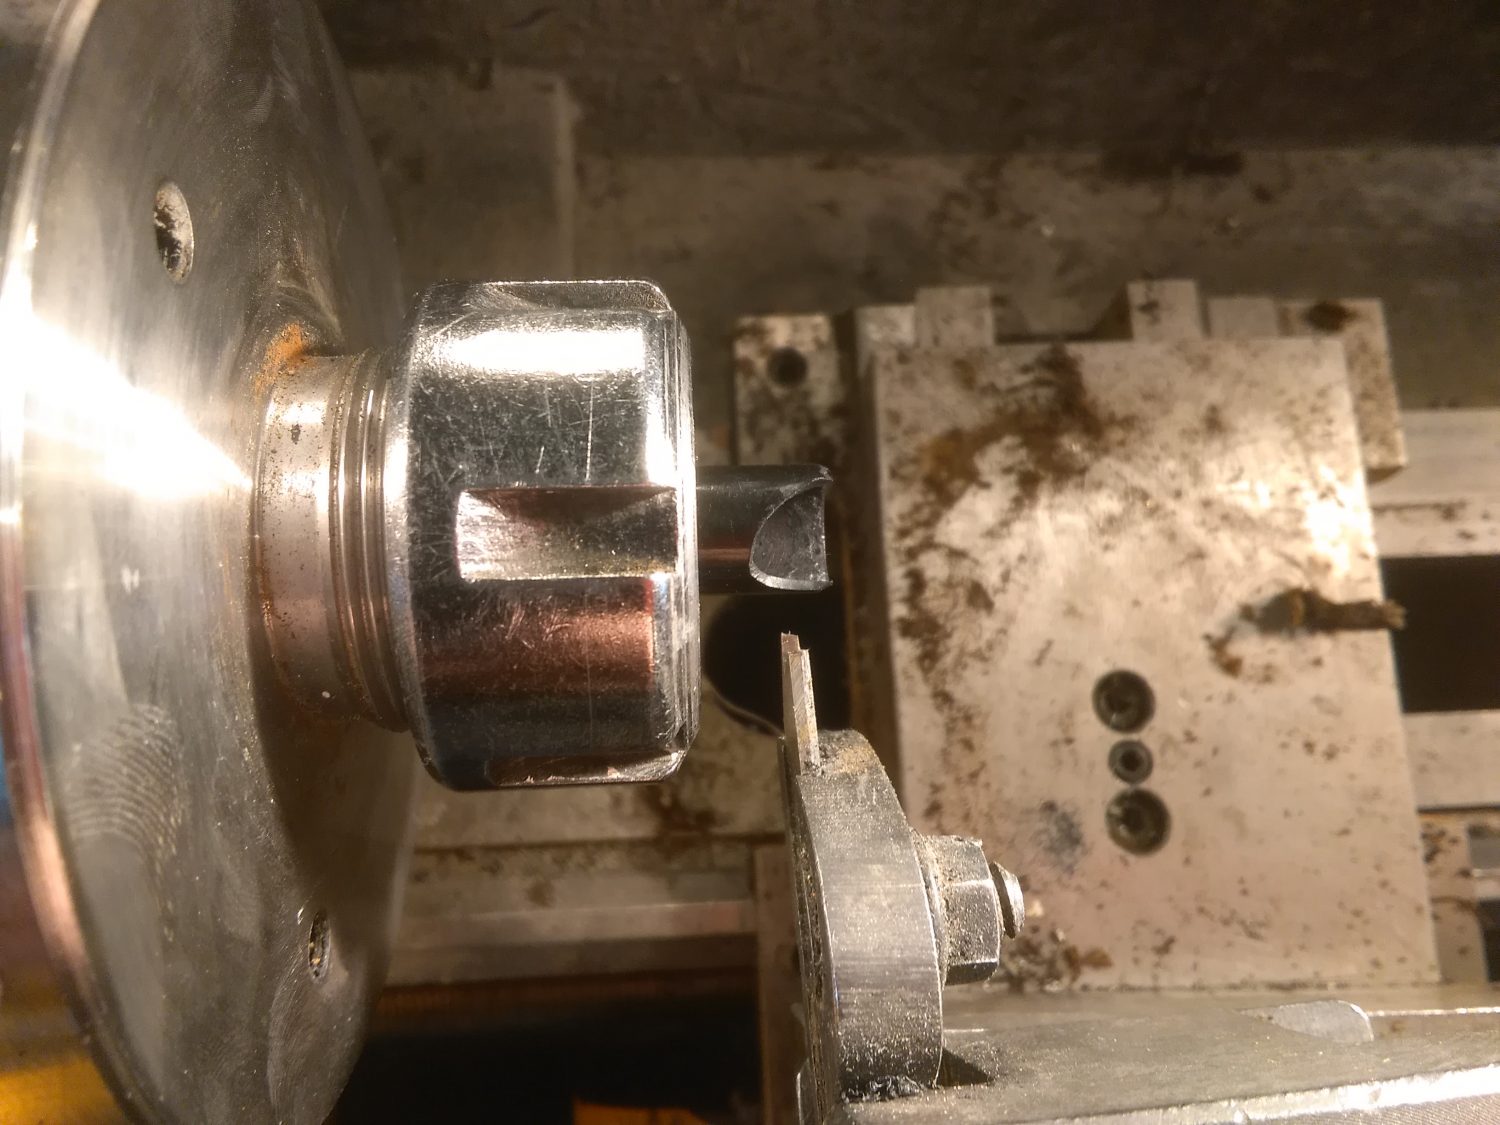
- Setting on tool post -1 degree for existing cap, the cap material is approx. 1mm thick, so the need is to have a tapered area with the new part and existing cap material having maximum “landing “area for adhesive, (Liquid Weld). I find a setting on the tool post of -1degree allows a cut depth approx. 6mm, before a critical area of failure could occur.

- Shaping external of new cap lip part
The new material for the cap lip is now installed in the lathe and a rough cut to the final required outer diameter of the cap is cut. This is then bored to 7mm dia, the final bore size for the cap to fit the barrel is 9mm. I find that the more “body” left on a part, is more effective to remove from the bore rather than the external.
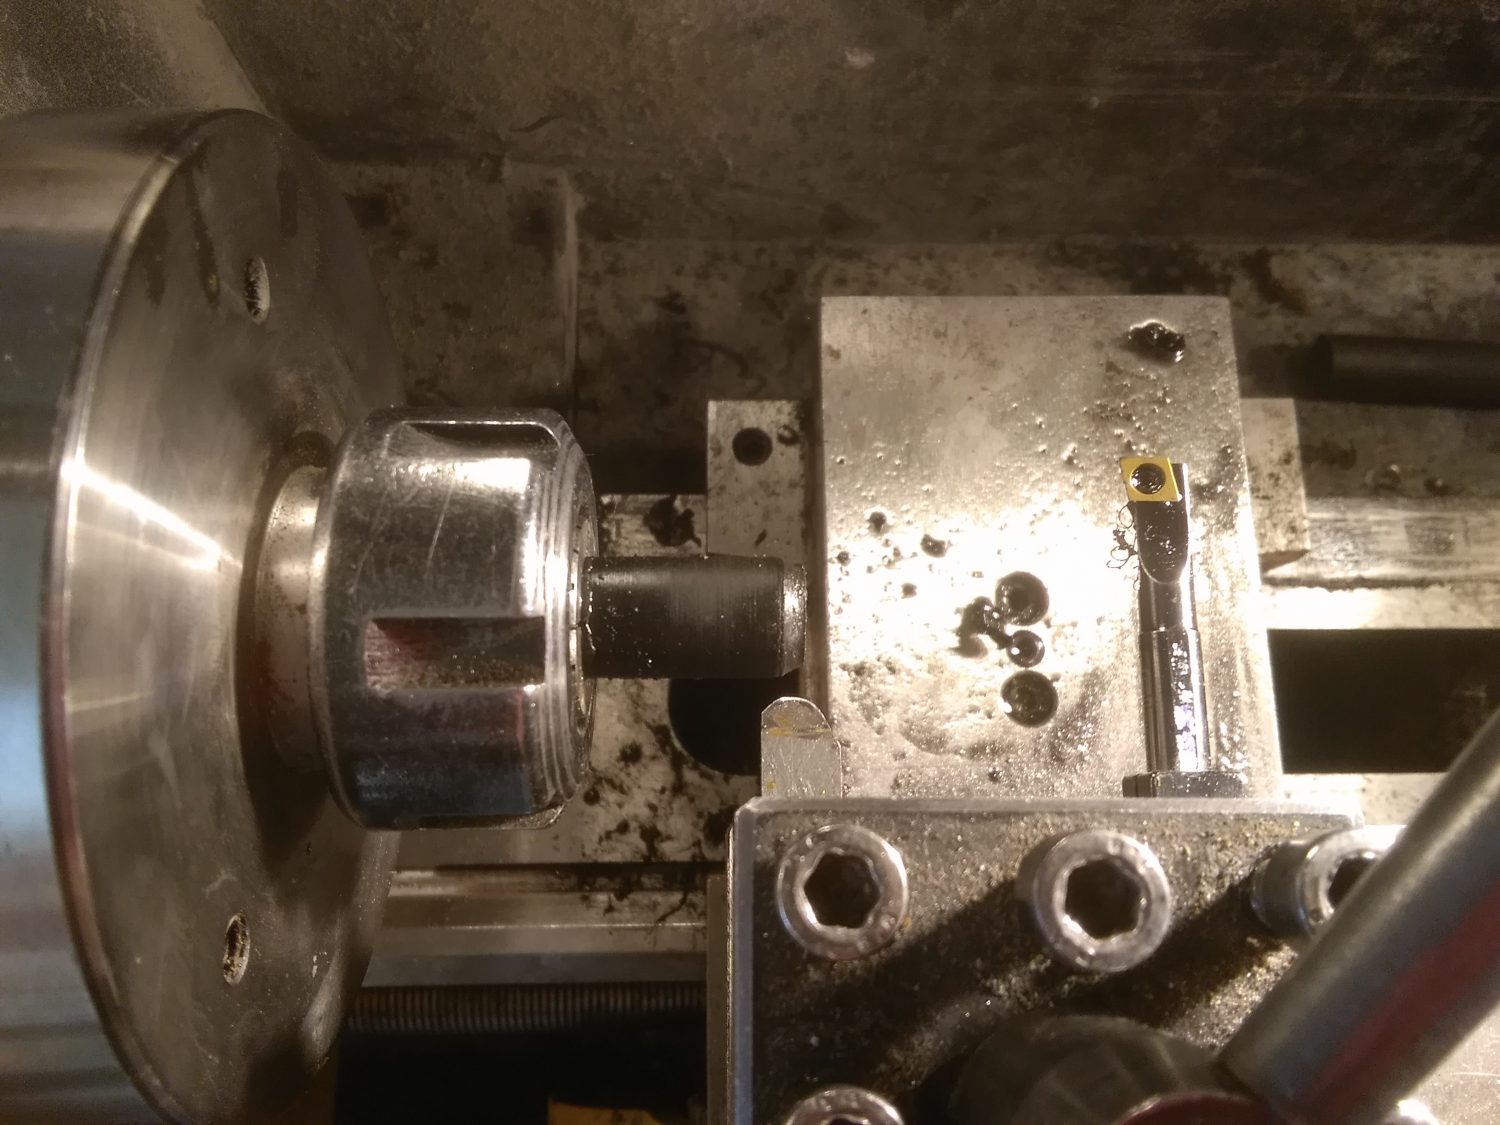
- New cap lip part formed. The tool post is now set1degree and cut to form a mate with the female dovetail of the cap. This is the part, where minimal cuts are taken trying the match with each one.
- Glueing parts, Liquid Weld. The new cap lip part is cut from the stock material and glued to the existing cap lip, left for a few days to cure it is then “dressed” on the external, to give totally smooth finish, both on the lathe and by hand. Finally, the new cap lip bore, is very carefully cut in the lathe till a perfect fit with the original barrel. The barrel imprint was protected by aluminum adhesive tape during external finishing and polishing works. Note external finishing works were carried out prior to the final bore of the cap was completed, there still being a significant thickness of material, allowed for less risk of damage in handling.
- Completed Pen
This a somewhat diluted version of the works involved, my initial recording of the steps is around 25 different photographs, suffice to say, to fit a cap lip, is about 50% more operations than making from scratch a new cap, but for a pen like this worth the effort